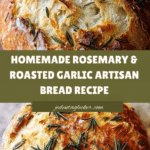
Rosemary & Roasted Garlic Artisan Bread Recipe
Introduction
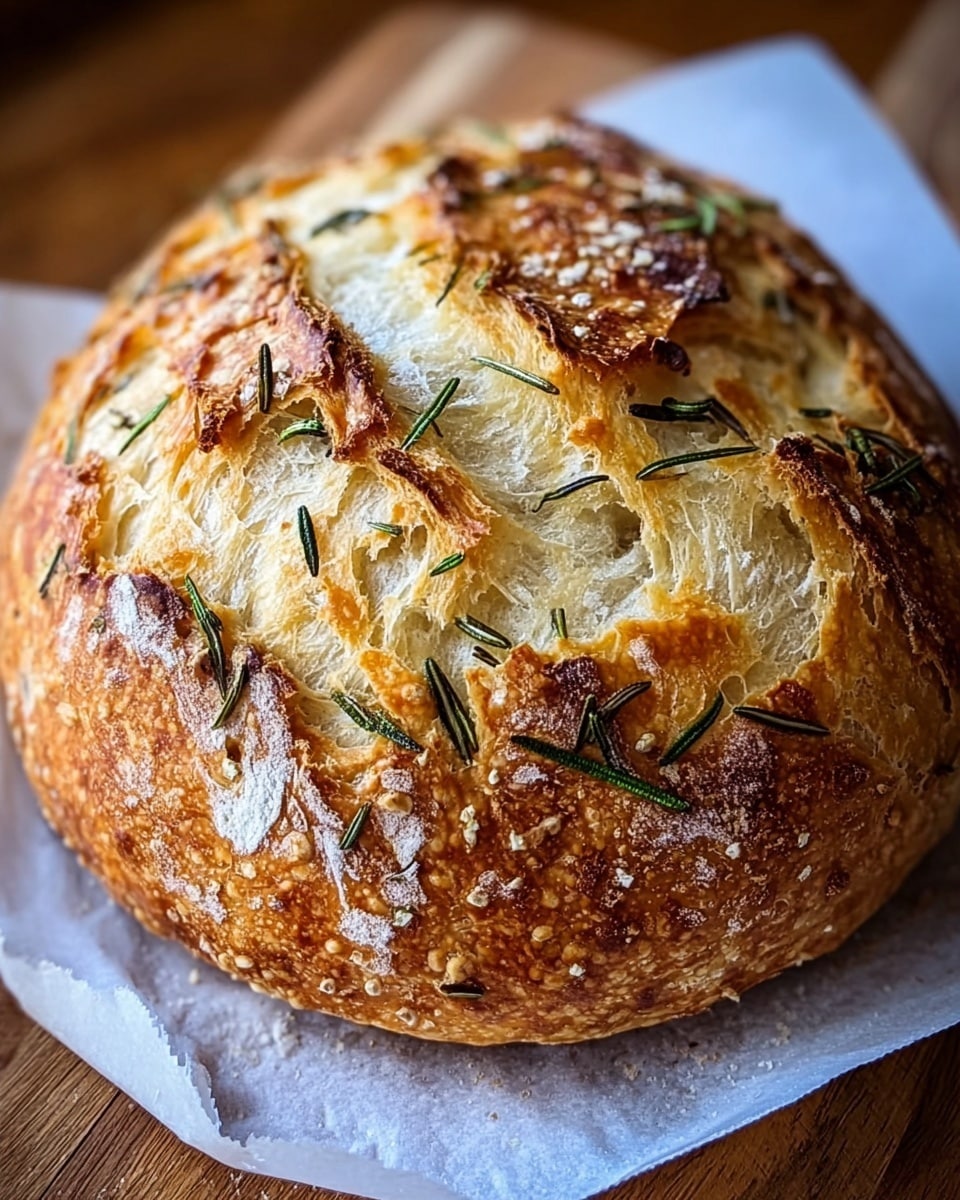
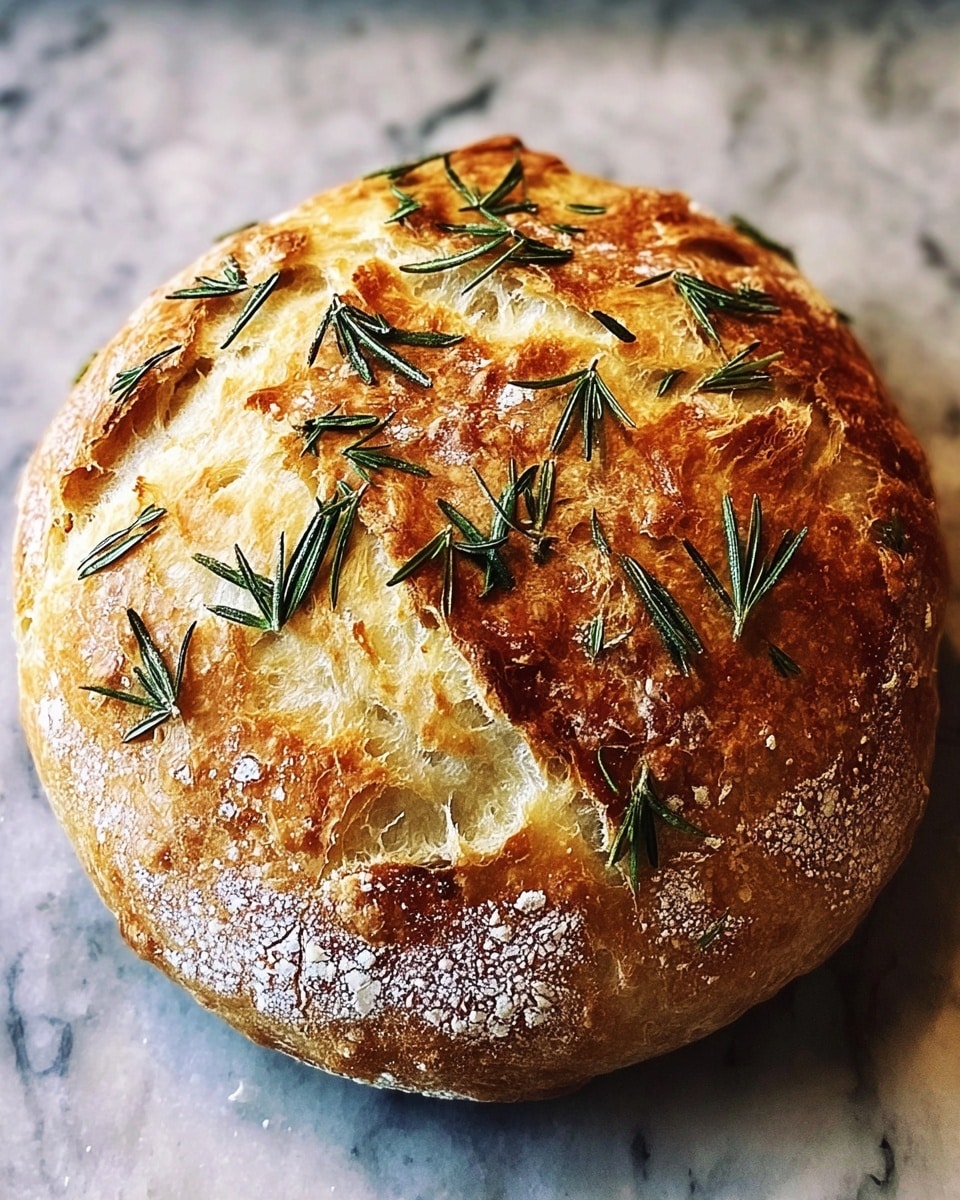
Enjoy the comforting aroma and rustic flavor of Rosemary & Roasted Garlic Artisan Bread. This homemade loaf combines fragrant rosemary and sweet roasted garlic for a deliciously hearty bread perfect for any occasion.
Ingredients
- 1 head garlic
- Extra-virgin olive oil
- Coarse sea salt
- Freshly ground black pepper
- 1½ cups water (room temperature)
- 1 teaspoon active dry yeast
- 3 cups bread or all-purpose flour
- ½ teaspoon dried oregano
- 1 teaspoon kosher salt
- 2 teaspoons finely chopped rosemary (plus extra for topping)
Instructions
- Step 1: Preheat your oven to 400°F (204°C). Slice the garlic head in half, drizzle with olive oil, season with coarse sea salt and freshly ground black pepper. Wrap in foil and roast for about 40 minutes until soft and fragrant.
- Step 2: In a bowl, combine the active dry yeast with room temperature water. Let it sit until frothy, about 10 to 15 minutes.
- Step 3: In a separate large bowl, mix together the flour, dried oregano, kosher salt, and finely chopped rosemary.
- Step 4: Once the garlic is cool enough to handle, squeeze the roasted cloves from the skins and mash them lightly. Add the mashed roasted garlic and a drizzle of olive oil to the yeast mixture.
- Step 5: Pour the wet ingredients into the dry ingredients and mix with a spatula until just combined into a shaggy dough.
- Step 6: Cover the bowl with a clean towel and let the dough rise in a warm spot until doubled in size, about 8 to 10 hours.
- Step 7: Turn the dough out onto a floured surface and shape it into a round ball. Place it seam side up in a floured bowl, cover, and refrigerate overnight or up to 48 hours.
- Step 8: When ready to bake, preheat your oven to 450°F (232°C) and place a Dutch oven inside to heat.
- Step 9: Carefully shape the chilled dough onto a piece of parchment paper, seam side down. Score the top with a sharp knife and sprinkle extra rosemary on top.
- Step 10: Transfer the dough on the parchment into the hot Dutch oven. Cover and bake for 30 minutes, then remove the lid and bake an additional 15 to 20 minutes until the crust is golden brown.
- Step 11: Remove the bread from the oven and cool on a wire rack before slicing and serving.
Tips & Variations
- For a softer crust, brush the bread with olive oil right after baking while still warm.
- Try replacing rosemary with thyme or sage for a different herbal twist.
- If you don’t have a Dutch oven, bake the dough on a preheated baking stone and place a pan of water in the oven to create steam.
Storage
Store the bread wrapped in a clean kitchen towel at room temperature for up to 2 days. For longer storage, slice and freeze the bread in an airtight bag for up to 1 month. Reheat slices in a toaster or oven to refresh the crust.
How to Serve
Serve this delicious recipe with your favorite sides.
FAQs
Can I use fresh garlic instead of roasted garlic?
Roasting garlic mellows its flavor and adds sweetness, which is key to this bread’s taste. Using raw garlic may result in a sharper, more pungent flavor.
Is it necessary to refrigerate the dough overnight?
Refrigerating the dough overnight improves flavor and texture by slowing fermentation. However, if short on time, you can shape and bake after the first rise, though the bread’s depth of flavor may be less.
PrintRosemary & Roasted Garlic Artisan Bread Recipe
This Rosemary & Roasted Garlic Artisan Bread recipe offers a fragrant, flavorful homemade loaf with the perfect crust and chewy texture. Infused with roasted garlic and fresh rosemary, this bread is baked in a Dutch oven to achieve a golden, artisan-quality crust. The slow rise and overnight refrigeration develop complex flavors, making it ideal for serving alongside soups, salads, or charcuterie boards.
- Prep Time: 20 minutes (excluding rising and refrigeration time)
- Cook Time: 50 minutes
- Total Time: 9 hours 10 minutes to 2 days (including rising and refrigeration)
- Yield: 1 loaf (about 10–12 slices) 1x
- Category: Bread
- Method: Baking
- Cuisine: Italian
Ingredients
Roasted Garlic
- 1 head garlic
- Extra-virgin olive oil
- Coarse sea salt
- Freshly ground black pepper
Dough
- 1½ cups water (room temperature)
- 1 teaspoon active dry yeast
- 3 cups bread or all-purpose flour
- ½ teaspoon dried oregano
- 1 teaspoon kosher salt
- 2 teaspoons finely chopped rosemary (plus extra for topping)
- Extra-virgin olive oil for mixing
Instructions
- Roast Garlic: Preheat your oven to 400°F (204°C). Slice the garlic head in half horizontally, drizzle generously with olive oil, and season with coarse sea salt and freshly ground black pepper. Wrap the garlic tightly in foil and roast it in the oven for about 40 minutes until soft and caramelized.
- Activate Yeast: In a medium bowl, combine the active dry yeast with room temperature water. Let it sit undisturbed for 10-15 minutes until the mixture becomes frothy, indicating the yeast is activated.
- Mix Dry Ingredients: In a separate large bowl, whisk together the bread or all-purpose flour, dried oregano, kosher salt, and finely chopped rosemary evenly.
- Combine Ingredients: Once the garlic is roasted and cooled slightly, smash the softened garlic cloves and mix them with olive oil into the activated yeast water. Pour this mixture into the dry ingredients. Using a spatula, gently combine the ingredients until just mixed into a sticky dough.
- First Rise: Cover the bowl with a clean kitchen towel or plastic wrap and place it in a warm environment. Let the dough rise until it has doubled in size, approximately 8-10 hours for a slow ferment which develops flavor.
- Shape and Refrigerate: On a floured surface, shape the dough into a round ball. Place the ball seam side up into a floured bowl, cover it, and refrigerate overnight or up to 48 hours. This cold fermentation enhances texture and flavor.
- Preheat Dutch Oven: About 30 minutes before baking, preheat your oven to 450°F (232°C) with a large Dutch oven inside to ensure it is thoroughly heated for baking.
- Prepare Dough for Baking: Remove the dough from the refrigerator and place it seam side down onto a piece of parchment paper. Use a sharp knife or bread lame to score the top of the dough to allow controlled expansion during baking. Optionally, sprinkle extra chopped rosemary on top for garnish.
- Bake Bread: Carefully transfer the parchment paper with dough into the hot Dutch oven. Cover with the lid and bake for 30 minutes to trap steam and create a crust. Remove the lid and bake for an additional 15-20 minutes until the bread is golden brown and crisp.
- Cool and Serve: Remove the bread from the Dutch oven and place it on a wire rack to cool completely before slicing. This step sets the crumb and improves the texture.
Notes
- Use room temperature water to ensure proper yeast activation.
- For best flavor, allow the dough to rise slowly and refrigerate overnight.
- Roasting garlic in foil seals in moisture and sweetness.
- If you don’t have a Dutch oven, a heavy oven-safe pot with a lid can be used instead.
- Scoring the dough helps control expansion and creates an attractive finish.
- Letting bread cool completely before slicing prevents a gummy texture.
Keywords: rosemary bread, roasted garlic bread, artisan bread, homemade bread, Dutch oven bread, savory bread