Red Velvet Cream Cheese Thumbprint Cookies Recipe
Introduction
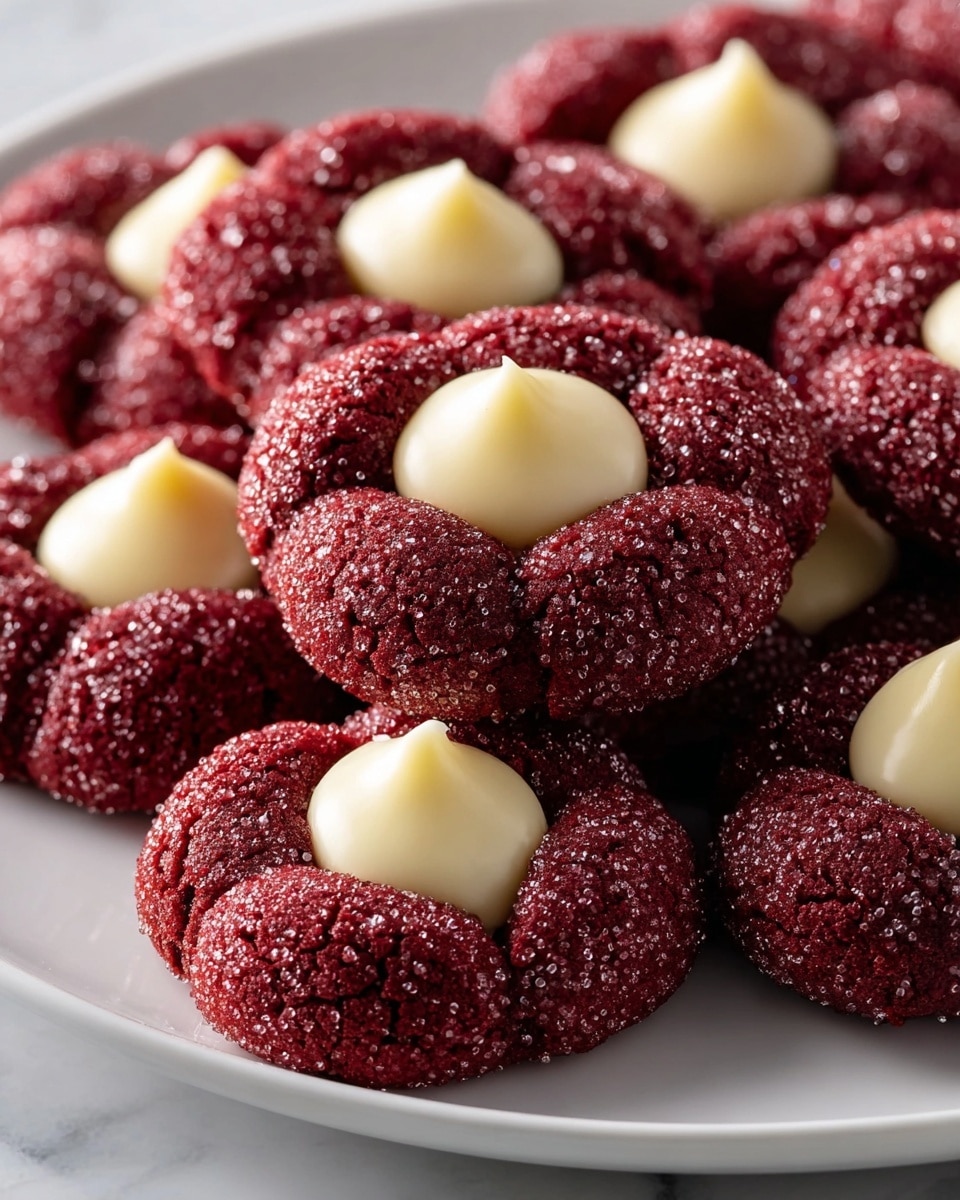
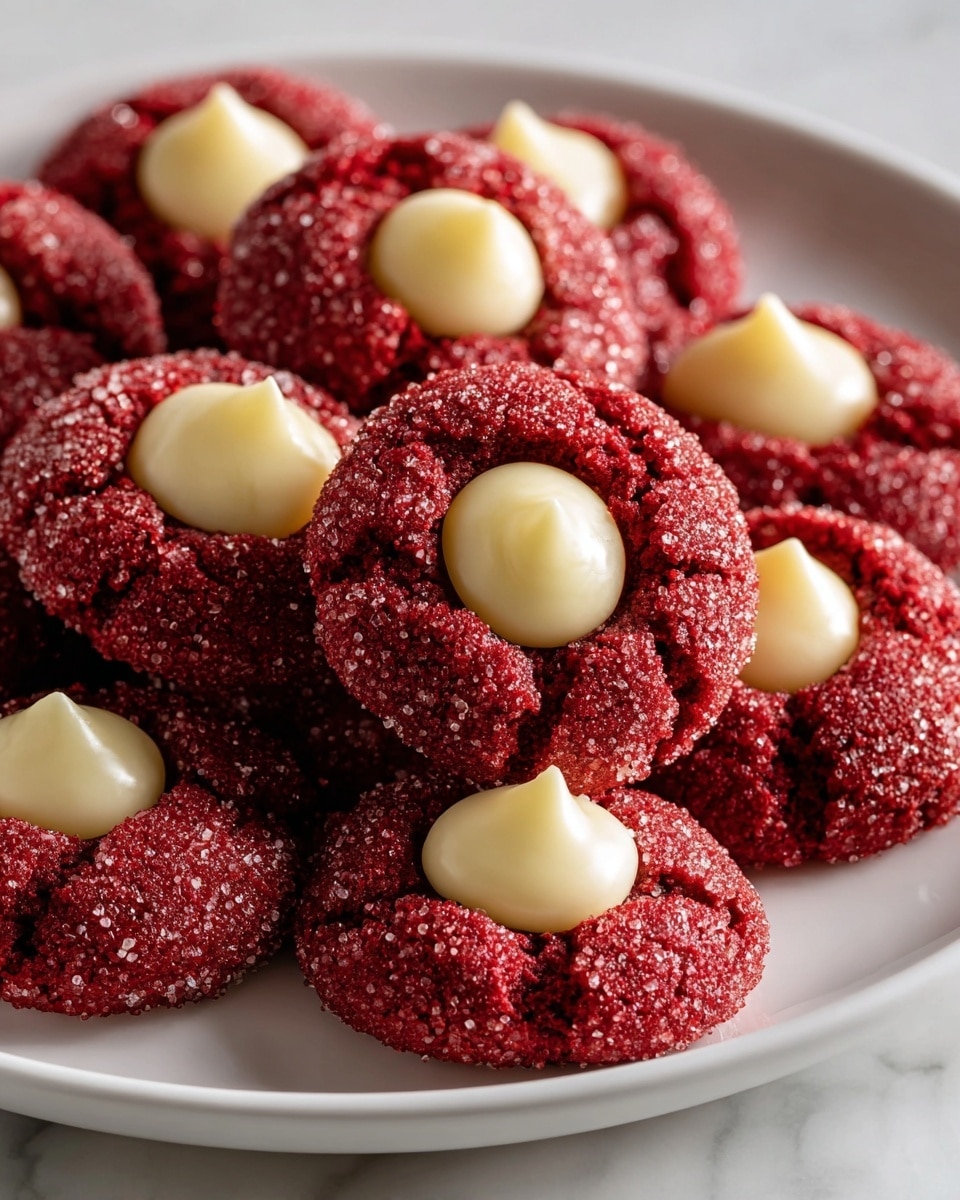
Red Velvet Cream Cheese Thumbprint Cookies offer a festive twist on the classic thumbprint cookie. With their vibrant red dough and creamy filling, they’re perfect for celebrations or any sweet craving. These cookies combine a tender cocoa-flavored base with a luscious cream cheese center for a delightful treat.
Ingredients
- 2 ½ cups (300g) all-purpose flour
- 2 tablespoons (14g) unsweetened natural cocoa powder
- 1 teaspoon baking soda
- ½ teaspoon salt
- 1 cup (226g) unsalted butter, softened (for dough)
- 1 ½ cups (300g) granulated sugar
- 1 large egg, room temperature
- 1 teaspoon vanilla extract (for dough)
- 1 tablespoon (15ml) white vinegar (for dough)
- ½ cup (120ml) buttermilk (or make your own)
- 1-2 ounces (30-60ml) red gel food coloring
- 8 ounces (226g) full-fat cream cheese, softened (for filling)
- ½ cup (113g) unsalted butter, softened (for filling)
- 3-4 cups (360-480g) powdered sugar, sifted
- 1 teaspoon vanilla extract (for filling)
- Pinch of salt (for filling)
- Optional: Additional powdered sugar for dusting
- Optional: Melted white chocolate for drizzling
Instructions
- Step 1: Preheat your oven to 375°F (190°C). Line several baking sheets with parchment paper or silicone baking mats to prevent sticking.
- Step 2: In a medium bowl, whisk together the all-purpose flour, cocoa powder, baking soda, and salt. Set this dry mixture aside.
- Step 3: Using a stand mixer, cream the softened unsalted butter and granulated sugar on medium-high speed for 3-5 minutes until the mixture is light and fluffy.
- Step 4: Add the egg, vanilla extract, and white vinegar to the creamed butter and sugar. Beat on medium speed until just combined, scraping down the sides of the bowl as needed.
- Step 5: Mix in 1 to 2 ounces of red gel food coloring until the dough turns a vibrant red color.
- Step 6: Add the dry ingredients to the wet in three parts, alternating with two additions of buttermilk. Mix on low speed and stop as soon as the flour streaks disappear to prevent overmixing.
- Step 7: Scrape the dough into a ball, cover tightly with plastic wrap, and refrigerate for at least 30 minutes or up to 2 hours to firm up.
- Step 8: For the filling, beat softened cream cheese and unsalted butter in a clean bowl on medium speed for 2-3 minutes until smooth and creamy, scraping the bowl frequently.
- Step 9: Gradually add the sifted powdered sugar one cup at a time, mixing on low until combined. Then increase to medium-high speed and beat for another 2-3 minutes until light and fluffy.
- Step 10: Stir in the vanilla extract and a pinch of salt until fully blended.
- Step 11: Transfer the cream cheese filling to a piping bag fitted with a small round tip, or use a Ziploc bag with a corner snipped off. Refrigerate for 15-20 minutes if the filling needs to firm up.
- Step 12: Remove the chilled dough and form uniform balls using a 1.5 tablespoon cookie scoop (about 30g each) or your hands. Place them on the prepared baking sheets spaced 2 inches apart.
- Step 13: Gently press an indentation into the center of each dough ball using your thumb or the back of a rounded measuring spoon to create thumbprints.
- Step 14: Carefully pipe or spoon a generous dollop of the cream cheese filling into each indentation.
- Step 15: Bake the cookies for 10-12 minutes at 375°F (190°C), until the edges are set and the cream cheese filling appears set and slightly puffed.
- Step 16: Remove the baking sheets from the oven and let the cookies cool on them for 5-7 minutes.
- Step 17: Transfer the cookies gently to a wire rack to cool completely, allowing the cream cheese filling to fully set.
- Step 18: Once cooled, optionally dust the cookies with additional powdered sugar or drizzle lightly with melted white chocolate for an elegant finish.
- Step 19: Store cookies in an airtight container in the refrigerator for 3-5 days due to the cream cheese filling. For longer storage, freeze in layers separated by parchment paper for 2-3 months. Thaw at room temperature before serving.
Tips & Variations
- Use gel food coloring for the most vivid red without altering the dough’s consistency.
- Make your own buttermilk by adding 1 tablespoon of lemon juice or vinegar to ½ cup milk and letting it sit for 5 minutes.
- For a subtle crunch, sprinkle finely chopped pecans or walnuts on top of the filling before baking.
- Try adding orange zest to the cream cheese filling for a citrus twist.
Storage
Due to the cream cheese filling, store the cookies in an airtight container in the refrigerator for up to 3-5 days. For longer storage, freeze the cookies in a single layer separated by parchment paper to prevent sticking, then transfer to a freezer-safe container for up to 2-3 months. To enjoy, thaw them at room temperature before serving. Reheating is not necessary, but you can warm them slightly in a microwave for a few seconds if you prefer.
How to Serve
Serve this delicious recipe with your favorite sides.
FAQs
Can I make the dough ahead of time?
Yes, the dough can be prepared and chilled for up to 2 hours before shaping and baking. This resting time helps the cookies hold their shape and enhances flavor.
What can I substitute for cream cheese in the filling?
You can replace cream cheese with mascarpone or a mild ricotta cheese for a different but still creamy texture. Keep in mind the flavor and consistency will vary slightly.
PrintRed Velvet Cream Cheese Thumbprint Cookies Recipe

Red Velvet Cream Cheese Thumbprint Cookies combine the classic rich red velvet flavor with a luscious cream cheese filling, creating a festive and elegant treat perfect for holidays and special occasions. These cookies feature a tender, cocoa-infused dough with a vibrant red hue, topped with a smooth, sweet cream cheese frosting piped into the center thumbprints.
- Prep Time: 15 minutes
- Cook Time: 12 minutes
- Total Time: 1 hour 15 minutes (including chilling and cooling times)
- Yield: Approximately 24–30 cookies 1x
- Category: Dessert Cookies
- Method: Baking
- Cuisine: American
Ingredients
Dry Ingredients
- 2 ½ cups (300g) all-purpose flour
- 2 tablespoons (14g) unsweetened natural cocoa powder
- 1 teaspoon baking soda
- ½ teaspoon salt
Dough Ingredients
- 1 cup (226g) unsalted butter, softened
- 1 ½ cups (300g) granulated sugar
- 1 large egg, room temperature
- 1 teaspoon vanilla extract
- 1 tablespoon (15ml) white vinegar
- ½ cup (120ml) buttermilk (or homemade)
- 1–2 ounces (30-60ml) red gel food coloring
Cream Cheese Filling
- 8 ounces (226g) full-fat cream cheese, softened
- ½ cup (113g) unsalted butter, softened
- 3–4 cups (360-480g) powdered sugar, sifted
- 1 teaspoon vanilla extract
- Pinch of salt
Optional Garnishes
- Additional powdered sugar for dusting
- Melted white chocolate for drizzling
Instructions
- Prepare for Baking: Preheat your oven to 375°F (190°C) and line several baking sheets with parchment paper or silicone baking mats to prevent sticking and ensure even baking.
- Mix Dry Ingredients: In a medium bowl, whisk together all-purpose flour, unsweetened cocoa powder, baking soda, and salt until fully combined. Set aside this dry mixture.
- Cream Butter and Sugar: Using a stand mixer, beat the softened unsalted butter and granulated sugar on medium-high speed for 3-5 minutes until the mixture becomes light and fluffy, which is essential for tender cookies.
- Add Wet Ingredients: Incorporate the egg, vanilla extract, and white vinegar into the creamed mixture. Beat on medium speed just until combined, ensuring the ingredients are well integrated without overmixing.
- Add Food Coloring: Blend in 1-2 ounces of red gel food coloring evenly to achieve a vibrant red color characteristic of red velvet desserts.
- Combine Wet and Dry: Add the dry ingredient mixture in three parts, alternating with two additions of buttermilk. Mix on low speed just until the flour streaks disappear, taking care not to overmix the dough for optimal texture.
- Chill Dough: Form the dough into a ball, cover it tightly with plastic wrap, and refrigerate for at least 30 minutes or up to 2 hours to firm up the dough for easier handling.
- Prepare Cream Cheese Filling Base: In a clean bowl of the stand mixer, beat the softened cream cheese and unsalted butter on medium speed for 2-3 minutes until smooth and creamy, scraping down the sides periodically.
- Add Powdered Sugar: Gradually incorporate sifted powdered sugar, one cup at a time, mixing on low speed until combined. Then increase speed to medium-high and beat for an additional 2-3 minutes until the filling is light and fluffy.
- Flavor Filling: Stir in vanilla extract and a pinch of salt to enhance and balance the sweetness of the cream cheese filling.
- Prepare Filling for Piping: Transfer the cream cheese filling into a piping bag fitted with a small round tip or a resealable plastic bag with a corner snipped off. Refrigerate for 15-20 minutes if needed to firm up the filling for better piping control.
- Form Cookie Balls: Take the chilled dough and, using a 1.5 tablespoon cookie scoop or your hands, form uniform balls about 30 grams each. Position them spaced 2 inches apart on the prepared baking sheets.
- Create Thumbprints: Gently press an indentation into the center of each cookie ball using your thumb or the back of a rounded measuring spoon to create space for the filling.
- Fill Cookies: Carefully pipe or spoon a generous amount of the cream cheese filling into each thumbprint indentation, filling it nearly to the top.
- Bake Cookies: Bake in the preheated oven for 10-12 minutes until the cookie edges are set and the cream cheese filling looks set and slightly puffed, but not browned.
- Initial Cooling: Remove from the oven and allow cookies to rest on the baking sheets for about 5-7 minutes to set further before transferring.
- Complete Cooling: Transfer cookies gently to a wire rack and let cool completely to ensure the cream cheese filling firms up properly.
- Garnish (Optional): Once cooled, dust cookies with additional powdered sugar or drizzle melted white chocolate for a festive and elegant finish.
- Store Cookies: Store cookies in an airtight container in the refrigerator for 3-5 days due to the cream cheese filling. They freeze well for 2-3 months when separated by parchment paper, and should be thawed at room temperature before serving.
Notes
- Ensure butter and cream cheese are properly softened for smooth, lump-free dough and filling.
- Use gel food coloring for vibrant color without adding extra liquid to the dough.
- Do not overmix the dough after adding dry ingredients to keep cookies tender.
- Chilling the dough is essential for easier handling and better cookie shape.
- Cookies must cool completely for the cream cheese filling to fully set.
- Due to the dairy filling, these cookies should be refrigerated and consumed within a few days.
- Optional garnishes enhance presentation but are not necessary for flavor.
Keywords: Red Velvet Cookies, Cream Cheese Filling, Thumbprint Cookies, Holiday Cookies, Festive Desserts, Valentine Cookies