Garlic Herb Dutch Oven Bread Recipe
Introduction
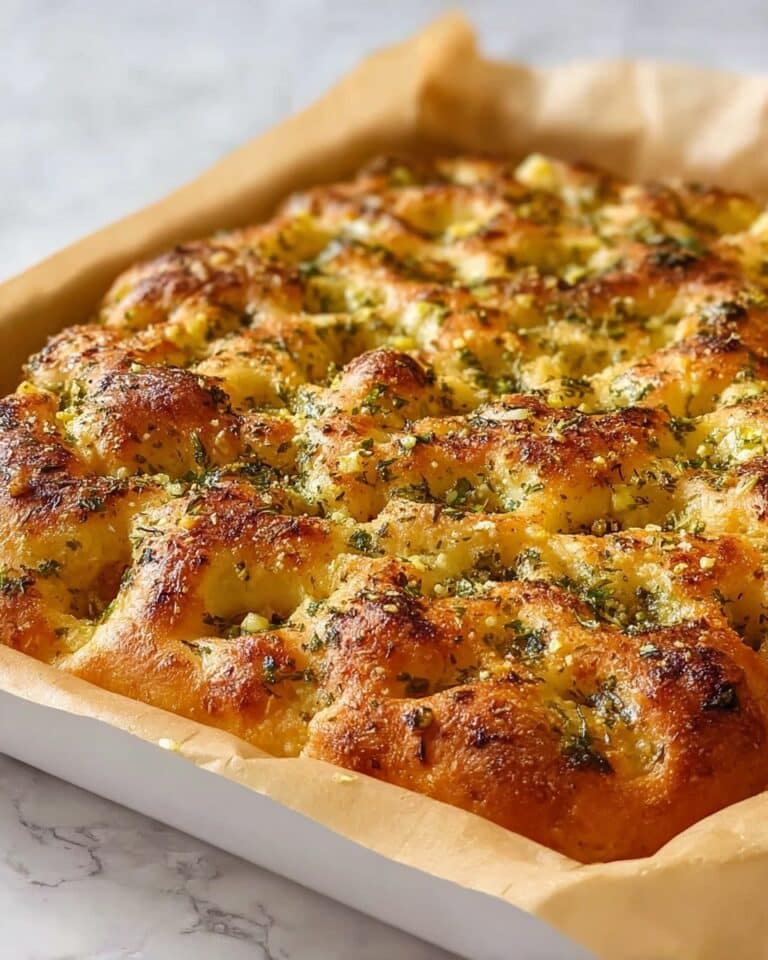
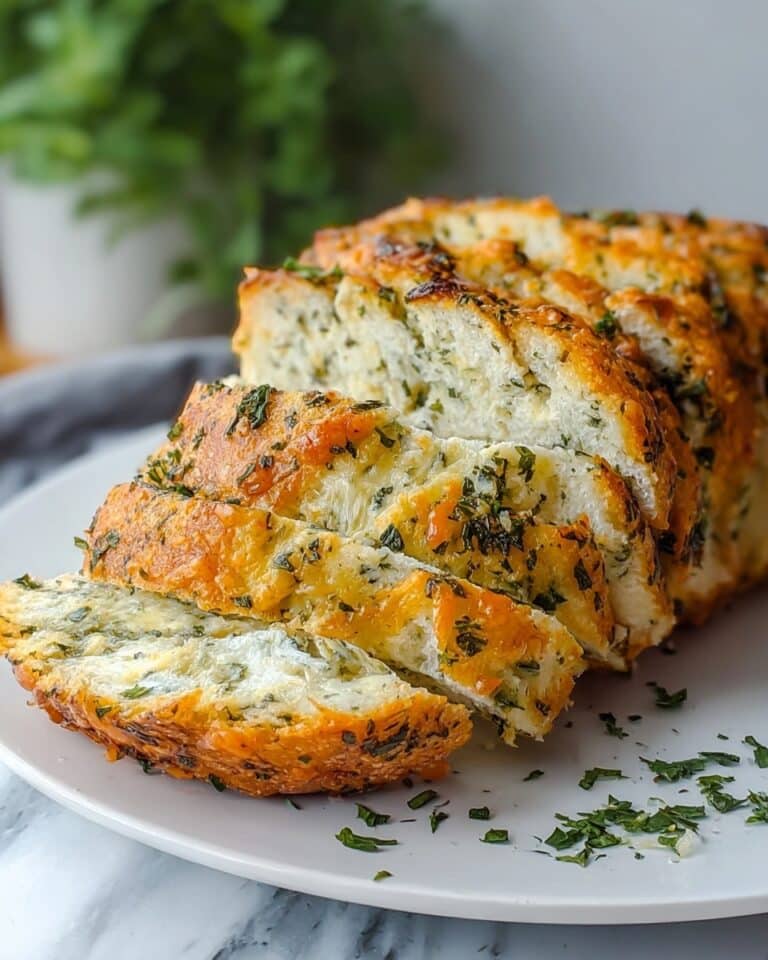
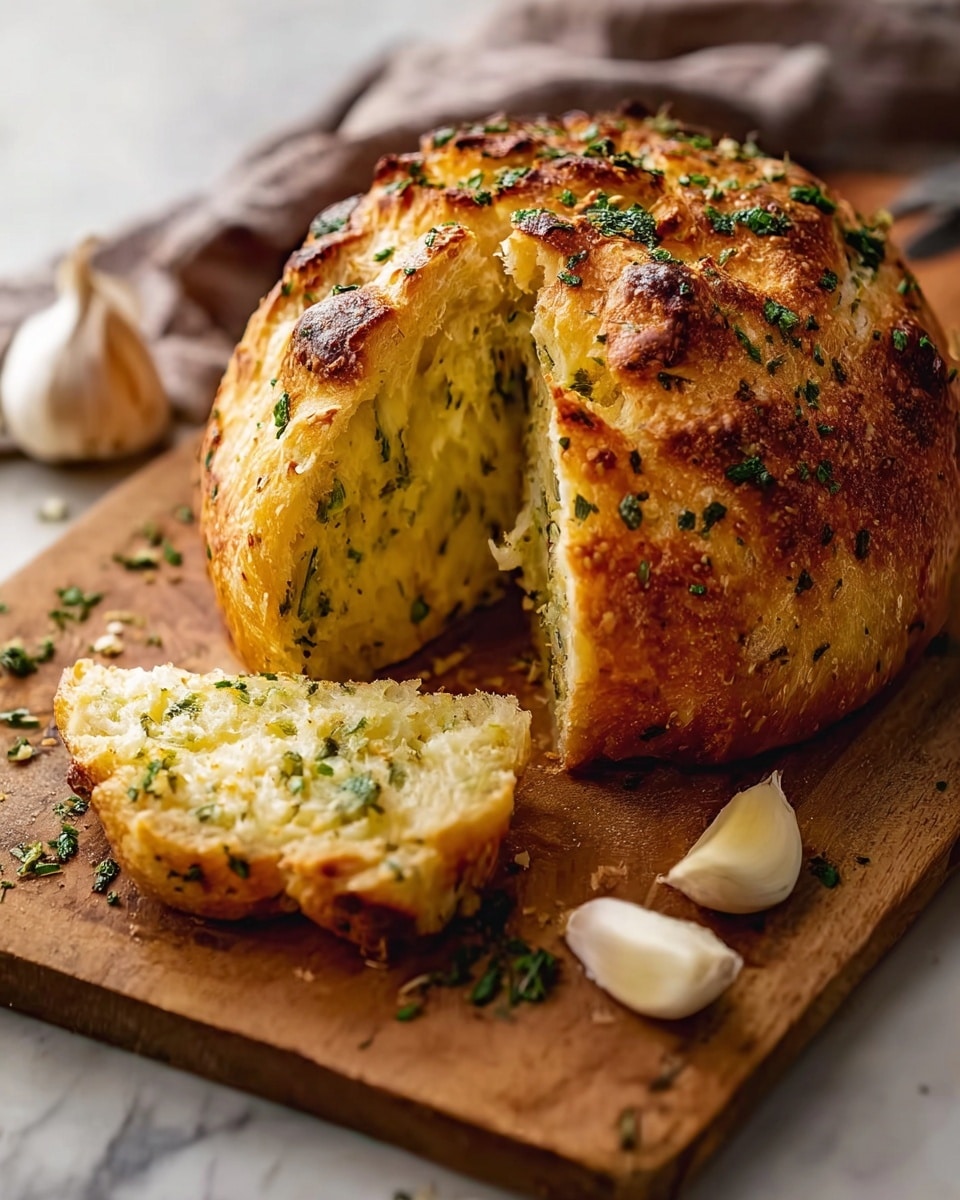
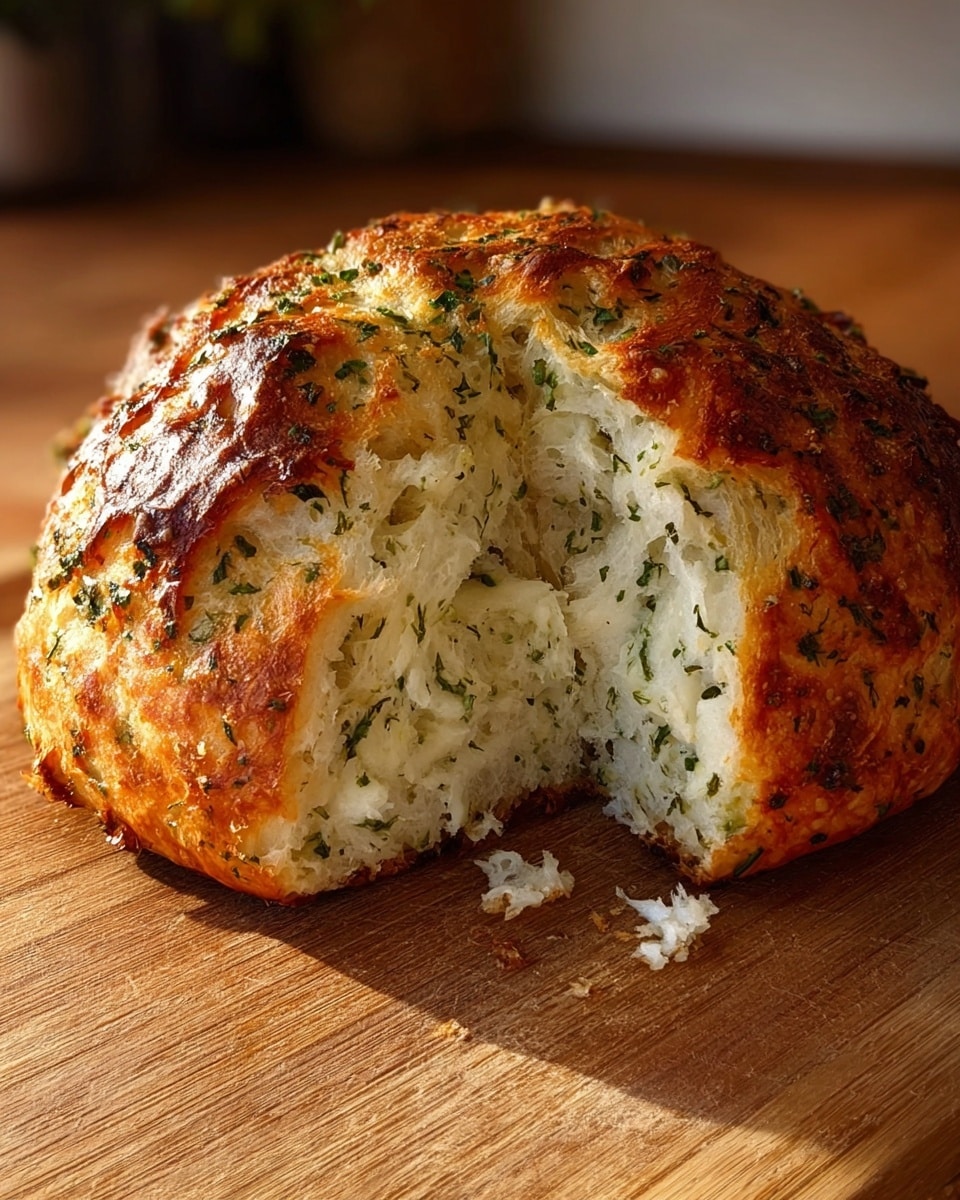
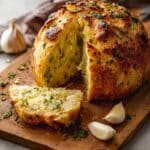
This Garlic Herb Dutch Oven Bread is a simple and flavorful homemade loaf that fills your kitchen with the aroma of fresh herbs and garlic. With just a few ingredients and a long rest, you can enjoy a crusty, golden bread perfect for any meal.
Ingredients
- 3 cups all-purpose flour
- 1 1/2 teaspoons salt
- 1/2 teaspoon instant yeast
- 1 1/2 cups warm water
- 4 cloves garlic, minced
- 2 tablespoons fresh herbs (such as rosemary and thyme), chopped
- 1 tablespoon olive oil
Instructions
- Step 1: In a large bowl, mix together the flour, salt, and instant yeast.
- Step 2: Add the warm water, minced garlic, and chopped herbs to the dry ingredients and stir until combined.
- Step 3: Cover the bowl with plastic wrap and let it rest for 12-18 hours at room temperature.
- Step 4: After resting, preheat your oven to 450°F (230°C) and place a Dutch oven inside to heat up.
- Step 5: Once the oven is hot, carefully remove the Dutch oven and add olive oil to the bottom.
- Step 6: Transfer the dough onto a floured surface and shape it into a ball.
- Step 7: Place the dough into the hot Dutch oven, cover it, and bake for 30 minutes.
- Step 8: Remove the lid and bake for an additional 15-20 minutes until golden brown.
- Step 9: Let the bread cool on a wire rack before slicing.
Tips & Variations
- Use a mix of fresh herbs like basil or oregano to customize the flavor to your liking.
- For a stronger garlic taste, sauté the minced garlic lightly before adding it to the dough.
- If you don’t have a Dutch oven, a heavy oven-safe pot with a lid works well too.
Storage
Store the bread in a paper bag or loosely wrapped in a clean kitchen towel at room temperature for up to 3 days. To refresh the crust, reheat in a preheated oven at 350°F (175°C) for 5-10 minutes.
How to Serve
Serve this delicious recipe with your favorite sides.
FAQs
Can I use active dry yeast instead of instant yeast?
Yes, you can substitute active dry yeast, but dissolve it in the warm water first and let it bloom for about 5-10 minutes before mixing with the dry ingredients.
Is it necessary to rest the dough for 12-18 hours?
The long rest time allows for better flavor development and texture. While you can shorten it, the results may be less aromatic and less airy.
PrintGarlic Herb Dutch Oven Bread Recipe
This Garlic Herb Dutch Oven Bread is a rustic, flavorful loaf made with simple ingredients and infused with fresh garlic and herbs. The dough is left to rise slowly overnight, then baked in a preheated Dutch oven to create a beautifully crusty exterior and a soft, aromatic interior. Perfect for any meal or as an accompaniment to soups and salads, this homemade bread recipe is easy to follow and yields delicious results.
- Prep Time: 15 minutes
- Cook Time: 45-50 minutes
- Total Time: 12 hours 45 minutes (including overnight rest)
- Yield: 1 loaf 1x
- Category: Bread
- Method: Baking
- Cuisine: American
Ingredients
Dry Ingredients
- 3 cups all-purpose flour
- 1 1/2 teaspoons salt
- 1/2 teaspoon instant yeast
Wet Ingredients
- 1 1/2 cups warm water
- 4 cloves garlic, minced
- 2 tablespoons fresh herbs (such as rosemary and thyme), chopped
- 1 tablespoon olive oil
Instructions
- Mix Dry Ingredients: In a large bowl, combine the all-purpose flour, salt, and instant yeast thoroughly.
- Add Wet Ingredients: Stir in the warm water, minced garlic, and chopped fresh herbs with the dry mixture until a sticky dough forms.
- Rest the Dough: Cover the bowl tightly with plastic wrap and leave the dough to rest at room temperature for 12 to 18 hours, allowing it to ferment and develop flavor.
- Preheat Oven and Dutch Oven: After the resting period, preheat your oven to 450°F (230°C) and place an empty Dutch oven inside to heat up thoroughly.
- Prepare the Dutch Oven: Carefully remove the hot Dutch oven from the oven and add a tablespoon of olive oil to its bottom to prevent sticking.
- Shape the Dough: Turn the dough out onto a floured surface and shape it gently into a round loaf ball without overworking it.
- Bake with Lid On: Place the shaped dough into the preheated Dutch oven, cover with the lid, and bake for 30 minutes to trap steam and develop a crust.
- Bake with Lid Off: Remove the lid and continue baking for an additional 15 to 20 minutes until the bread is golden brown and crusty.
- Cool the Bread: Transfer the baked bread to a wire rack and allow it to cool completely before slicing to ensure the crumb sets properly.
Notes
- For best flavor, use fresh herbs like rosemary and thyme.
- Ensure water is warm but not hot to avoid killing the yeast.
- Resting the dough overnight enhances flavor and texture.
- Be cautious when handling the hot Dutch oven; use oven mitts.
- Allow the bread to cool completely to avoid gummy texture inside.
Keywords: garlic bread, herb bread, Dutch oven bread, homemade bread, rustic bread, no-knead bread, artisan bread