Thai Basil Beef Rolls Recipe
Introduction
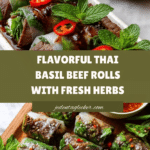
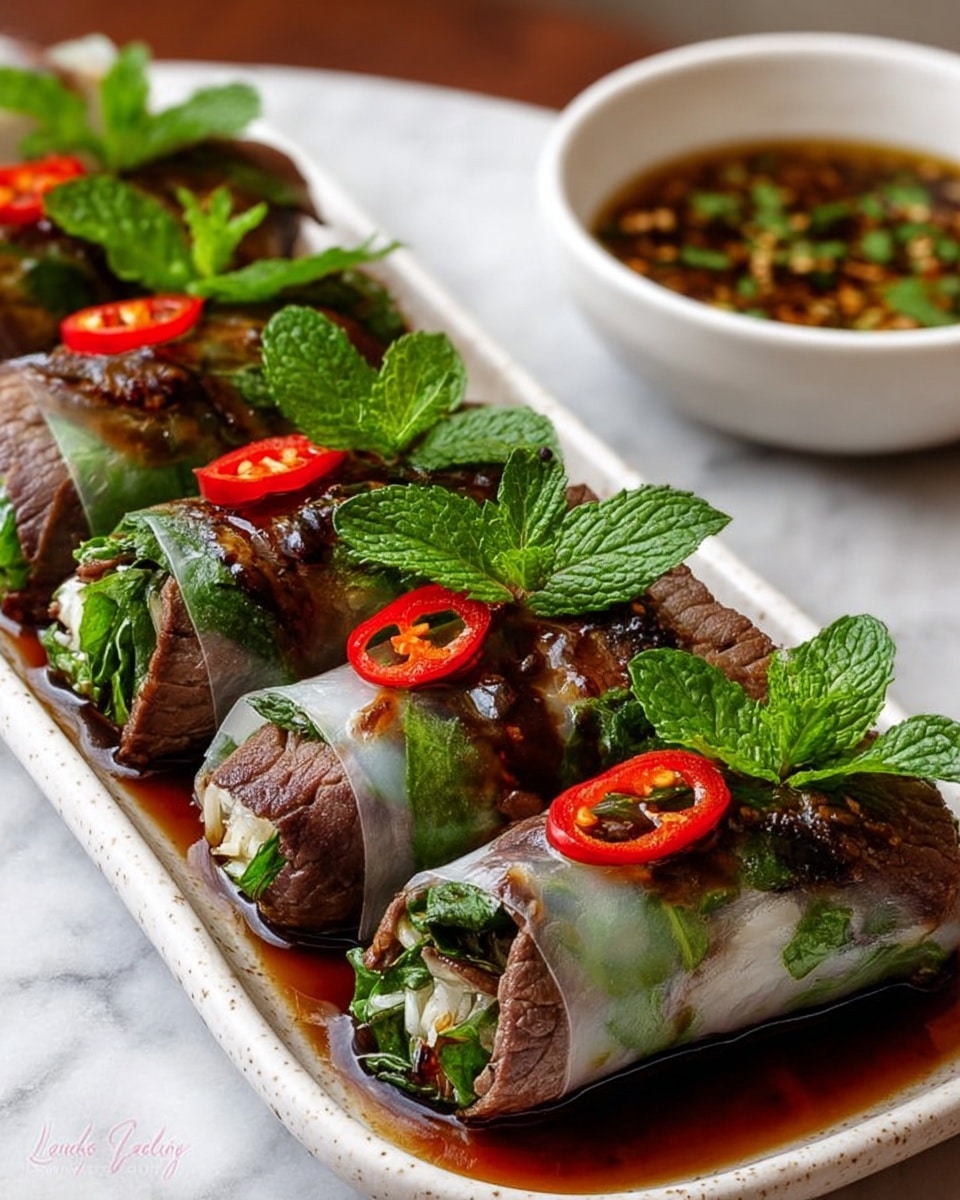
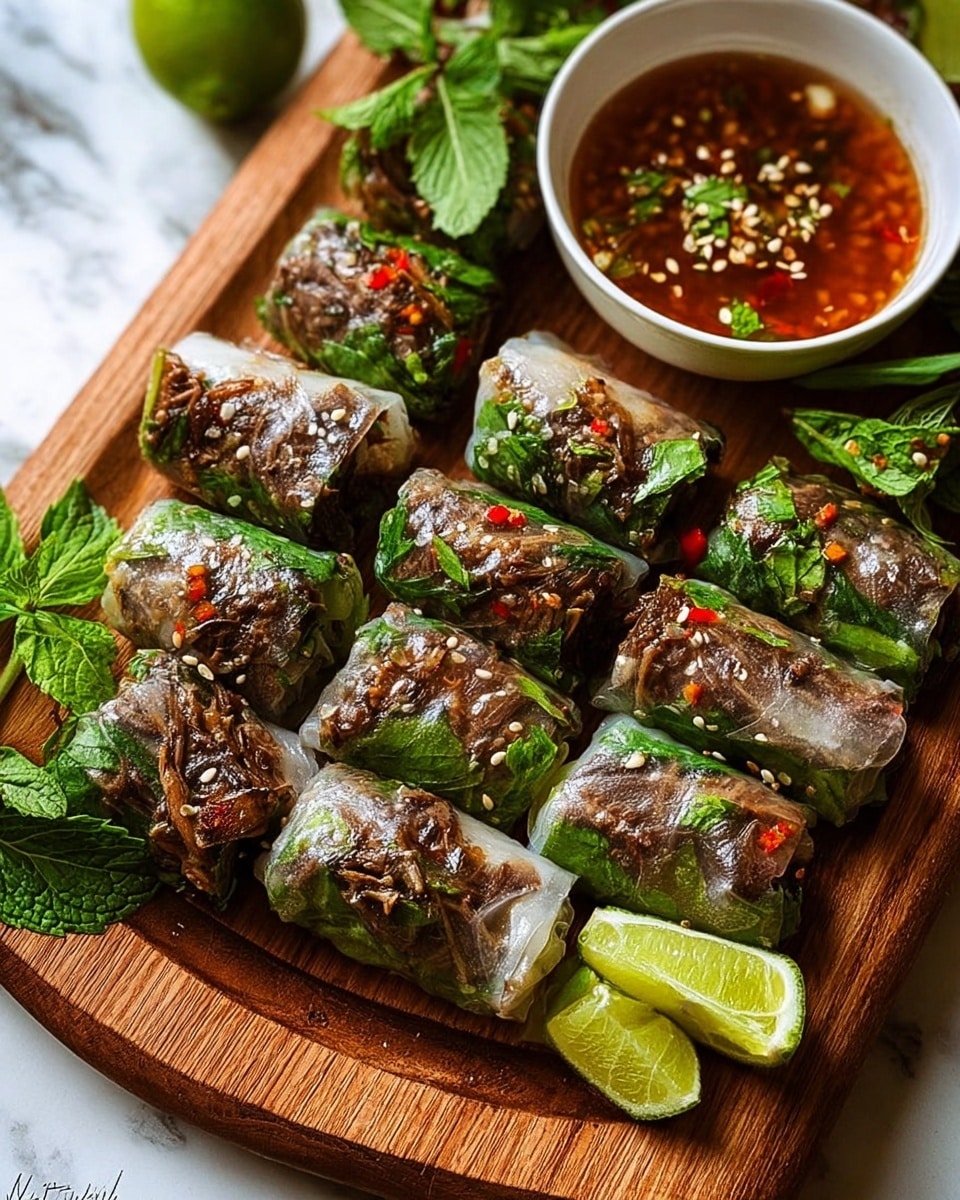
Thai Basil Beef Rolls offer a fresh and flavorful twist on classic spring rolls, combining savory ground beef with aromatic herbs and a tangy dipping sauce. These rolls make a perfect appetizer or light meal, bursting with vibrant flavors and a satisfying texture.
Ingredients
- 1 tablespoon vegetable oil
- 3 cloves garlic, minced
- 1 small shallot, finely chopped
- 1 pound ground beef (85/15)
- 2 tablespoons soy sauce
- 1 tablespoon oyster sauce
- 1 teaspoon brown sugar
- 1 tablespoon fresh lime juice
- 1/2 teaspoon chili flakes or 1 minced Thai chili
- 1 cup fresh Thai basil leaves, chopped
- 8 to 10 rice paper wrappers
- 1/2 cup fresh mint leaves (optional)
- 1/2 cup cilantro leaves (optional)
- 1/4 cup sliced green onion (optional)
- 1/4 cup julienned carrots or cucumbers (optional)
- 1/4 cup dipping sauce (soy-lime or chili-garlic blend)
Instructions
- Step 1: Heat the vegetable oil in a skillet over medium heat. Sauté the minced garlic and chopped shallot until fragrant, about 1-2 minutes.
- Step 2: Add the ground beef to the skillet and cook until browned, breaking it apart with a spoon as it cooks.
- Step 3: Stir in the soy sauce, oyster sauce, brown sugar, and chili flakes. Let the mixture simmer for 2 to 3 minutes to blend the flavors.
- Step 4: Remove the skillet from heat and stir in the fresh lime juice and chopped Thai basil. Allow the filling to cool slightly.
- Step 5: Fill a shallow plate with warm water and prepare your rolling station with the rice paper wrappers and optional herbs and vegetables nearby.
- Step 6: Dip one rice paper wrapper into the warm water for 5 to 10 seconds until pliable, then lay it flat on a clean surface.
- Step 7: Place a portion of the beef filling near the bottom of the wrapper, then add some fresh mint, cilantro, green onions, and julienned carrots or cucumbers if using.
- Step 8: Fold the bottom edge over the filling, tuck in the sides, and roll tightly to enclose the filling completely.
- Step 9: Repeat the process with the remaining wrappers and filling.
- Step 10: Slice the rolls in half and serve immediately with your preferred dipping sauce on the side.
Tips & Variations
- For added crunch, include shredded lettuce or chopped peanuts inside the rolls.
- Swap ground beef for ground chicken or pork for a different protein variation.
- Adjust the amount of chili flakes or fresh chili to your preferred spice level.
- Use softened or lightly steamed rice paper wrappers if they crack easily when rolling.
Storage
Store any leftover rolls in an airtight container in the refrigerator for up to 1 day. To prevent the rice paper from drying out, wrap the rolls individually in plastic wrap or damp paper towels. They are best enjoyed fresh but can be eaten cold or at room temperature. Reheating is not recommended as the rice paper can become chewy.
How to Serve
Serve this delicious recipe with your favorite sides.
FAQs
Can I prepare the filling ahead of time?
Yes, you can cook the beef filling a day in advance and refrigerate it. Just let it come to room temperature before assembling the rolls for the best texture and flavor.
What dipping sauces pair well with Thai Basil Beef Rolls?
Classic options include soy-lime sauce, chili-garlic sauce, or a simple peanut sauce. Choose one that complements the fresh and savory flavors of the rolls to enhance your experience.
PrintThai Basil Beef Rolls Recipe

Thai Basil Beef Rolls are a fresh and flavorful appetizer featuring ground beef cooked with aromatic Thai basil, garlic, and shallots, wrapped in delicate rice paper with fresh herbs and vegetables. These rolls offer a delicious combination of savory, spicy, and tangy flavors, perfect as a light meal or party snack.
- Prep Time: 15 minutes
- Cook Time: 10 minutes
- Total Time: 25 minutes
- Yield: 8 to 10 rolls 1x
- Category: Appetizer
- Method: Stovetop
- Cuisine: Thai
Ingredients
Beef Filling
- 1 tablespoon vegetable oil
- 3 cloves garlic, minced
- 1 small shallot, finely chopped
- 1 pound ground beef (85/15)
- 2 tablespoons soy sauce
- 1 tablespoon oyster sauce
- 1 teaspoon brown sugar
- 1 tablespoon fresh lime juice
- 1/2 teaspoon chili flakes or 1 minced Thai chili
- 1 cup fresh Thai basil leaves, chopped
Wrap & Vegetables
- 8 to 10 rice paper wrappers
- 1/2 cup fresh mint leaves (optional)
- 1/2 cup cilantro leaves (optional)
- 1/4 cup sliced green onion (optional)
- 1/4 cup julienned carrots or cucumbers (optional)
Dipping Sauce
- 1/4 cup dipping sauce (soy-lime or chili-garlic blend)
Instructions
- Prepare Aromatics and Ground Beef: Heat the vegetable oil in a skillet over medium heat. Sauté the minced garlic and finely chopped shallot until they become fragrant, about 1-2 minutes, to develop the base flavors.
- Cook the Ground Beef: Add the ground beef to the skillet and cook until fully browned, breaking it apart into small pieces with a spatula to ensure even cooking.
- Add Seasonings: Stir in soy sauce, oyster sauce, brown sugar, and chili flakes to the beef. Allow the mixture to simmer for 2 to 3 minutes so the flavors meld together.
- Finish the Filling: Remove the skillet from heat, then stir in fresh lime juice and chopped Thai basil leaves. Let the filling cool slightly to avoid tearing the rice paper during rolling.
- Prepare the Rolling Station: Fill a shallow plate with warm water to soften the rice paper wrappers. Arrange the cooled beef filling, fresh herbs, and vegetables nearby for easy access.
- Soften Rice Paper: Dip a single rice paper wrapper into the warm water for 5 to 10 seconds until pliable, then lay it flat on a clean surface.
- Add Filling to Wrapper: Place a portion of the beef filling near the bottom edge of the wrapper, then add fresh mint, cilantro, green onions, and julienned carrots or cucumbers if using.
- Roll the Wrap: Fold the bottom of the rice paper over the filling, tuck in the sides snugly, and roll tightly towards the top to form a neat roll.
- Repeat: Continue the process with the remaining wrappers and filling until all rolls are made.
- Serve: Slice the rolls in half diagonally and serve with the dipping sauce on the side for a bright, zesty accompaniment.
Notes
- Rice paper wrappers are delicate and can tear easily; avoid soaking them for too long.
- For spicier rolls, increase the amount of chili flakes or add fresh chili slices to the filling.
- Fresh herbs like mint and cilantro add freshness but can be omitted if unavailable.
- These rolls are best served fresh to maintain the crispness of the rice paper.
- Store leftover prepared beef filling separately and reheat before assembling more rolls.
Keywords: Thai basil beef rolls, rice paper rolls, Asian beef appetizers, fresh beef wraps, Thai appetizer