Easy Sheet Pan Chicken Fajitas (Ready in 30 Minutes!) Recipe
Introduction
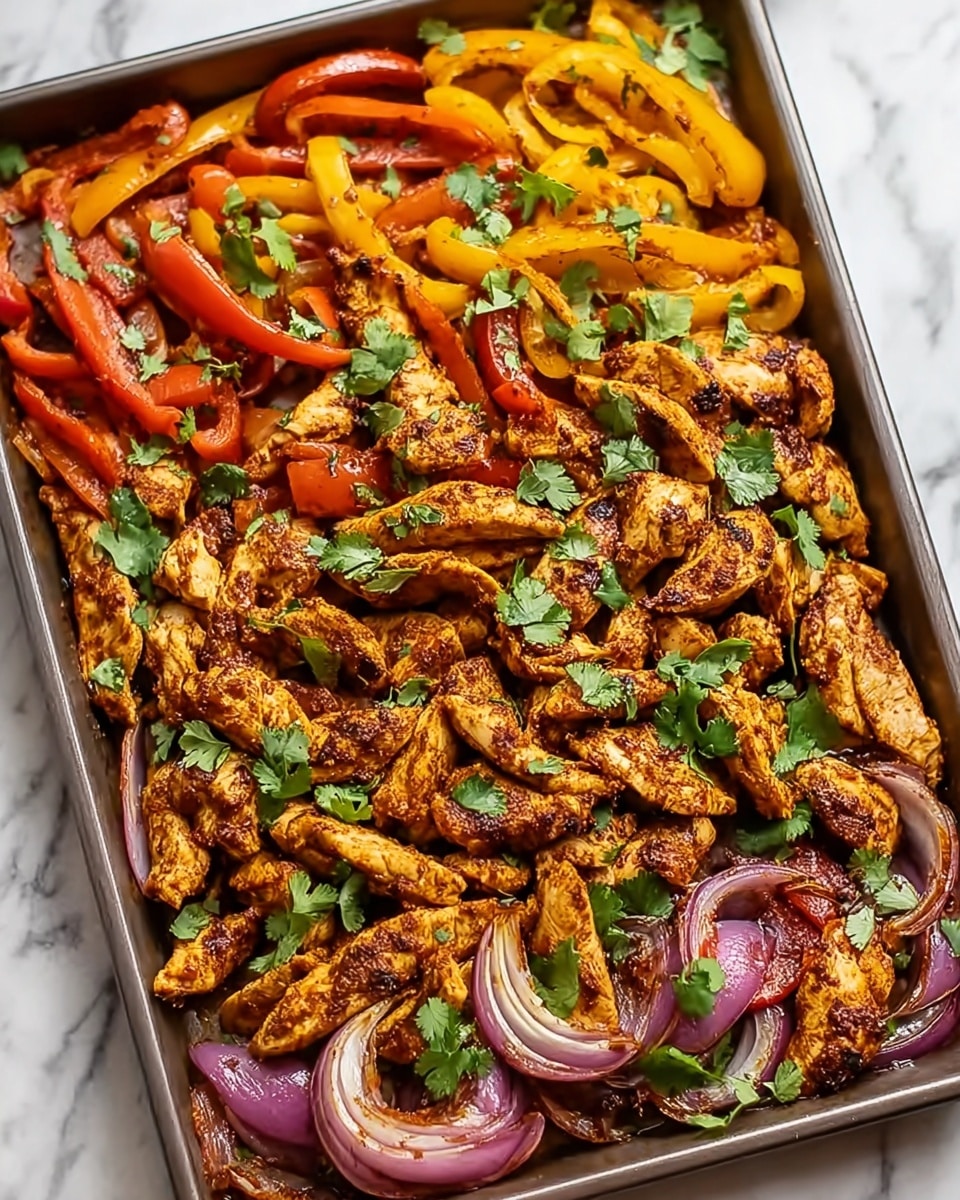
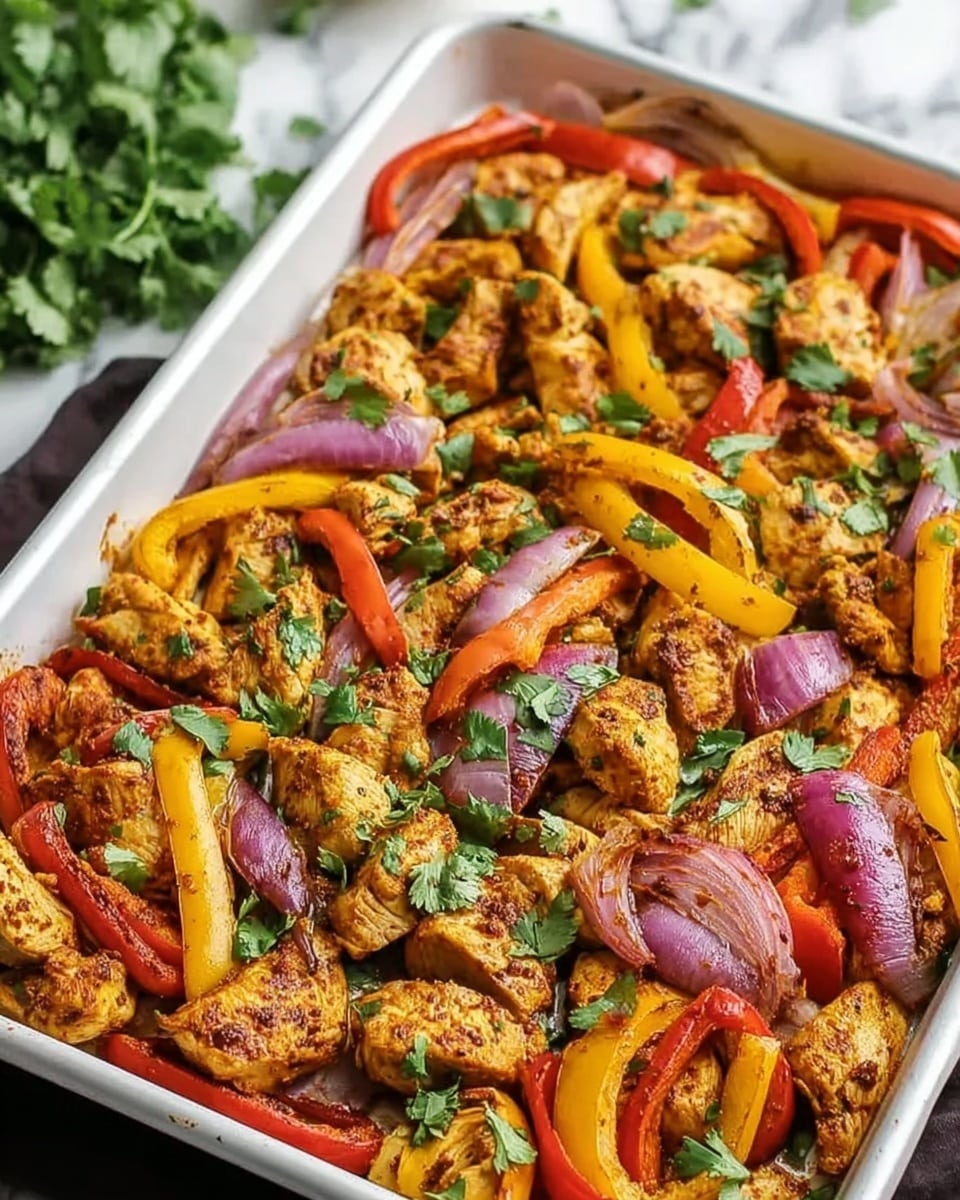
Easy Sheet Pan Chicken Fajitas are a flavorful and quick meal perfect for busy weeknights. With vibrant bell peppers, tender chicken, and zesty seasoning, this recipe comes together in just 30 minutes using a single sheet pan for minimal cleanup.
Ingredients
- 2 lbs chicken breasts, sliced into ¼-inch strips
- 3 bell peppers (red, yellow, and green), sliced
- 2 large onions, sliced
- 3 tablespoons olive oil
- 2 limes, juiced
- 16-18 small flour or corn tortillas
- 2 teaspoons chili powder
- 1 teaspoon ground cumin
- 1 teaspoon paprika
- 1 teaspoon garlic powder
- 1 teaspoon onion powder
- ½ teaspoon oregano
- 1 teaspoon salt
- ½ teaspoon black pepper
- Fresh cilantro (for garnish)
- Sour cream (optional topping)
- Guacamole (optional topping)
- Pico de gallo (optional topping)
- Shredded cheese (optional topping)
- Lime wedges (for serving)
Instructions
- Step 1: Preheat your oven to 425°F (218°C) and line a large sheet pan with parchment paper or foil for easy cleanup.
- Step 2: Slice the chicken breasts into ¼-inch strips. Cut the bell peppers and onions into even strips.
- Step 3: In a small bowl, mix together chili powder, ground cumin, paprika, garlic powder, onion powder, oregano, salt, and black pepper.
- Step 4: Place the sliced chicken and vegetables on the prepared sheet pan. Drizzle with olive oil and lime juice, then sprinkle the seasoning mix over everything.
- Step 5: Toss the chicken and vegetables to coat evenly, then spread them out in a single layer, making sure nothing overlaps for even cooking.
- Step 6: Bake in the preheated oven for 20-25 minutes, stirring halfway through. Cook until the chicken reaches an internal temperature of 165°F.
- Step 7: For extra char, broil the fajitas for 2-3 minutes at the end of cooking if desired.
- Step 8: Warm the tortillas while the chicken and vegetables finish cooking. Assemble the fajitas with your choice of toppings like sour cream, guacamole, pico de gallo, shredded cheese, and fresh cilantro.
- Step 9: Squeeze fresh lime juice over the assembled fajitas and serve immediately.
Tips & Variations
- Use chicken thighs instead of breasts for juicier fajitas.
- For a spicier kick, add some cayenne pepper or chopped jalapeños to the seasoning mix.
- Try adding sliced mushrooms or zucchini for extra veggies.
- If you prefer, use corn tortillas for a gluten-free option.
- Leftover fajita filling makes a great taco salad or quesadilla filling the next day.
Storage
Store leftover chicken fajita filling in an airtight container in the refrigerator for up to 3 days. Reheat gently in a skillet or microwave before serving. Keep tortillas separate and warm them just before assembling to prevent sogginess.
How to Serve
Serve this delicious recipe with your favorite sides.
FAQs
Can I make this recipe in advance?
Yes, you can prep and season the chicken and vegetables ahead of time, then store them in the fridge until ready to cook. Baking fresh ensures the best texture and flavor.
What can I serve with chicken fajitas?
Chicken fajitas pair well with Mexican rice, refried beans, a simple green salad, or chips and salsa for a complete meal.
PrintEasy Sheet Pan Chicken Fajitas (Ready in 30 Minutes!) Recipe

This Easy Sheet Pan Chicken Fajitas recipe is a quick and flavorful meal perfect for busy weeknights. Tender strips of chicken breasts are seasoned with a vibrant mix of spices and cooked alongside colorful bell peppers and onions on a single sheet pan. Ready in just 30 minutes, this recipe simplifies fajita night with minimal cleanup, serving delicious, juicy chicken fajitas topped with fresh cilantro, guacamole, sour cream, and pico de gallo.
- Prep Time: 15 minutes
- Cook Time: 20-25 minutes
- Total Time: 35-40 minutes
- Yield: 6–8 servings 1x
- Category: Main Course
- Method: Baking
- Cuisine: Mexican
Ingredients
Protein and Vegetables
- 2 lbs chicken breasts, sliced into ¼-inch strips
- 3 bell peppers (red, yellow, and green), sliced
- 2 large onions, sliced
Seasonings and Oils
- 3 tablespoons olive oil
- 2 teaspoons chili powder
- 1 teaspoon ground cumin
- 1 teaspoon paprika
- 1 teaspoon garlic powder
- 1 teaspoon onion powder
- ½ teaspoon oregano
- 1 teaspoon salt
- ½ teaspoon black pepper
- 2 limes, juiced
Serving & Garnishes
- 16–18 small flour or corn tortillas
- Fresh cilantro
- Sour cream
- Guacamole
- Pico de gallo
- Shredded cheese
- Lime wedges
Instructions
- Prep the ingredients: Preheat your oven to 425°F (218°C). Line a large sheet pan with parchment paper or aluminum foil for easy cleanup. Slice the chicken breasts into ¼-inch strips. Cut the bell peppers and onions into evenly sized strips to ensure even cooking. In a small bowl, combine chili powder, ground cumin, paprika, garlic powder, onion powder, oregano, salt, and black pepper to create your seasoning mix.
- Season and arrange: Place the sliced chicken, bell peppers, and onions onto the prepared sheet pan. Drizzle the olive oil and lime juice over the chicken and vegetables. Sprinkle the seasoning mixture evenly over everything. Toss gently with your hands or a spatula to evenly coat the chicken and vegetables with oil and spices. Spread the mixture out in a single layer on the pan, making sure none of the pieces overlap for best roasting results.
- Bake the fajitas: Place the sheet pan in the preheated oven and bake for 20-25 minutes. Halfway through cooking, stir the mixture gently to promote even roasting. Continue cooking until the chicken reaches an internal temperature of 165°F and is cooked through. For an extra touch of char and depth of flavor, optionally broil the fajitas for 2 to 3 minutes at the end of baking.
- Serve the fajitas: While the fajitas finish baking, warm the tortillas in the oven or on a skillet until soft and pliable. Assemble the fajitas by spooning the chicken and vegetable mixture onto the tortillas. Top with fresh cilantro, sour cream, guacamole, pico de gallo, shredded cheese, and lime wedges. Squeeze fresh lime juice over the top for an added burst of flavor and serve immediately for the best taste.
Notes
- Use a meat thermometer to check the chicken’s internal temperature for perfect doneness and food safety.
- Feel free to swap bell peppers with other vegetables like zucchini or mushrooms for variety.
- For a lower-carb option, serve the chicken and veggies over cauliflower rice instead of tortillas.
- If you prefer spicier fajitas, add a pinch of cayenne pepper to the seasoning mix.
- Leftovers can be stored in an airtight container in the refrigerator for up to 3 days and reheated gently before serving.
Keywords: sheet pan chicken fajitas, easy chicken fajitas, baked fajitas, weeknight dinner, chicken and peppers, Mexican chicken recipe